

Here’s the thing guys, I’m just a little bit excited about today’s post. Despite the fact that I have zero green thumbs (outside of food coloring induced) I love plants and I really love plant cookies. Today I’m going to share with you guys a tutorial on how I made these potted plant cookies AND share the cookie cutter file. Not pumped yet? Don’t worry it will grow on ya…
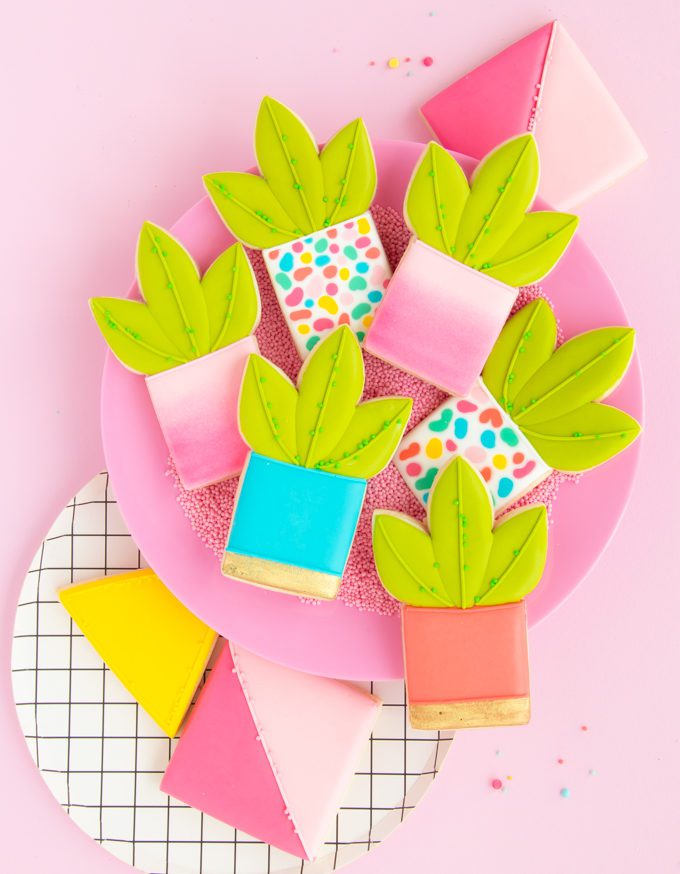
I made these plant cookies as part of a set inspired by my creative friend Kara from Kailio Chic. Her creative and colorful work often captures my heart on Instagram and I wanted to send her a set of cookies to share the love. When dreaming up cookies for Kara I knew I wanted to include a cookie inspired by the colorful potted plant she made recently. This gave me the perfect chance to design my own plant cookie cutter to print on my Silhouette Alta and now I can share it with you! That’s right for those of you following along with a Silhouette Alta 3D printer (the numbers are GROWING!) you can print this cutter yourself for FREE and follow the tutorial below. Did I mention there’s a FREE projector template as well? YAASSSS? I love DIY cookie-ing.
PLANT COOKIE SILHOUETTE ALTA 3D PRINT FILE
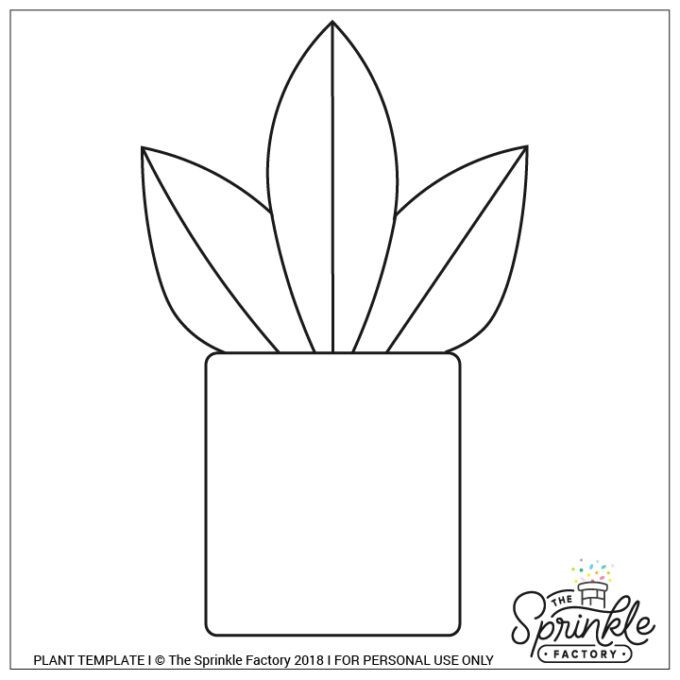
PLANT COOKIE PROJECTOR TEMPLATE
Have a cookie decorating projector? Great news! Here’s a projector template to make these cookies a breeze. Just click, save, project!
HOW TO MAKE PLANT COOKIES
TOOLS
- plant cookie cutter (download above)
- icing bottles/piping bags
- #2 tips
- #1 tip
- icing scribe
- fan
- edible marker
SUPPLIES
- white outline + white flood icing
- bright green outline + bright green flood icing
- colors of flood icing in any colors you would like
- green nonpareils (optional)
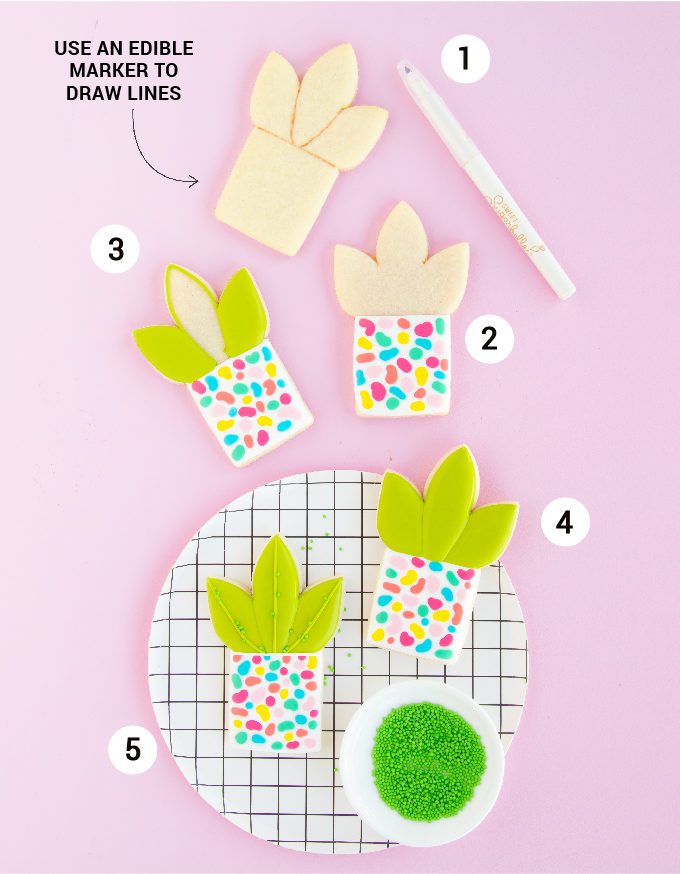
Step 1: Use edible maker + projector template to trace on the lines of the pot and
Step 2: Outline and flood the pot part of the cookie with white outline + flood icing. Make sure not fill your pot too full with white so you have enough room to add colored icing. Add wiggly little spots of colored flood icing. Move your cookies under a fan to crust over and prevent bleeding before moving on to the next step.
Step 3: Using bright green outline icing outline the three plant sections of your cookie. Use your bright green flood icing to fill in the two
Step 4: Flood the middle plant section.
Step 5: Once your entire cookie has at least crusted over you can add the final plant cookie lines and a little white trim line for the pot. I also added green sprinkles because, well I love sprinkles.
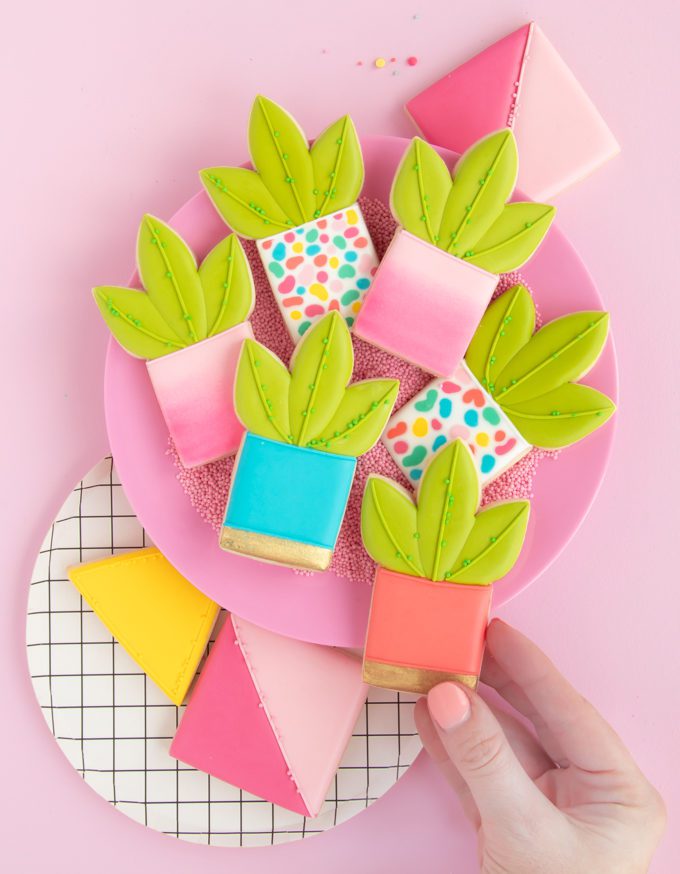
And there you have it, your very own plant cookie! I love how bright and fun these cookies were, I can’t wait to see your pant cookies!
WANT MORE FUN COOKIE TUTORIALS?
- Instagram Like Bubble Cookies
- Sprinkle Hair Girl Cookies
- Sloth Cookies From A Candy Corn Cutter
- Happy Pill Cookies
Heads up! To keep those legal gurus of the world happy, I need to inform you that some of the links in this post are affiliate links. In short – I may earn a small commission from the use of said link with no cost to you. But don’t worry I only link to stuff I use, love, and know you will too!


