

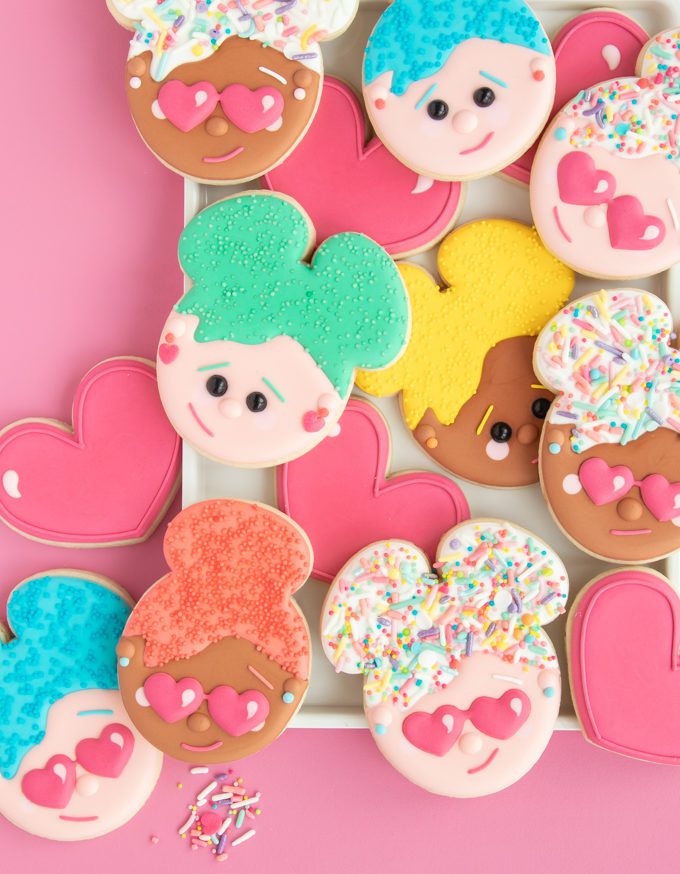
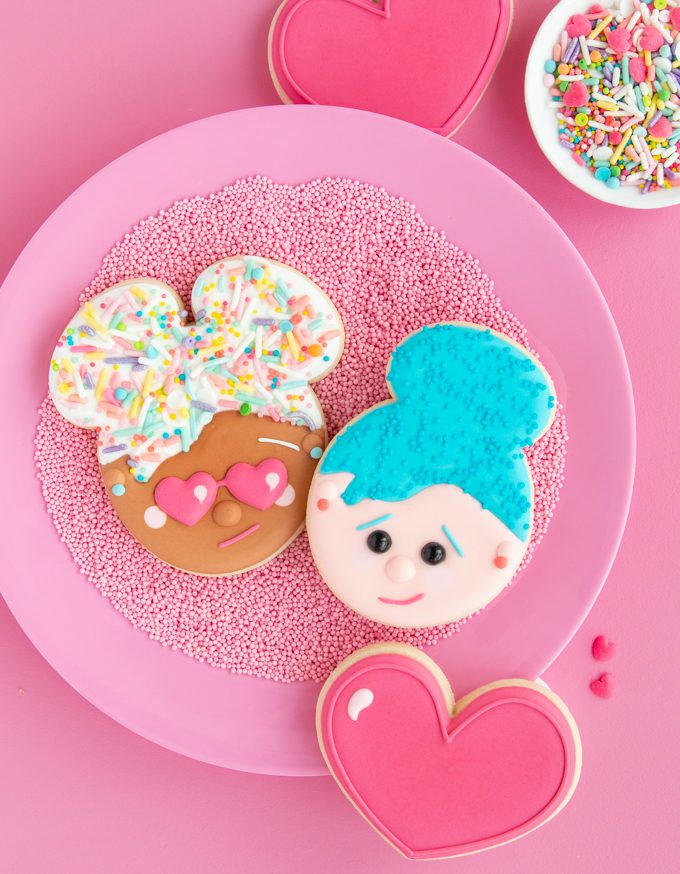
Have you ever thought man, I could really use some sprinkle hair? No? Just me? Well don’t worry because we are gonna change that today. Because these adorable sprinkle hair girl cookies with their little heart sunnies are irresistible. You’re gonna want some sprinkle hair too, and before you know it, all the cool kids will have sprinkle hair. And by cool kids I mean cookies, obvi.
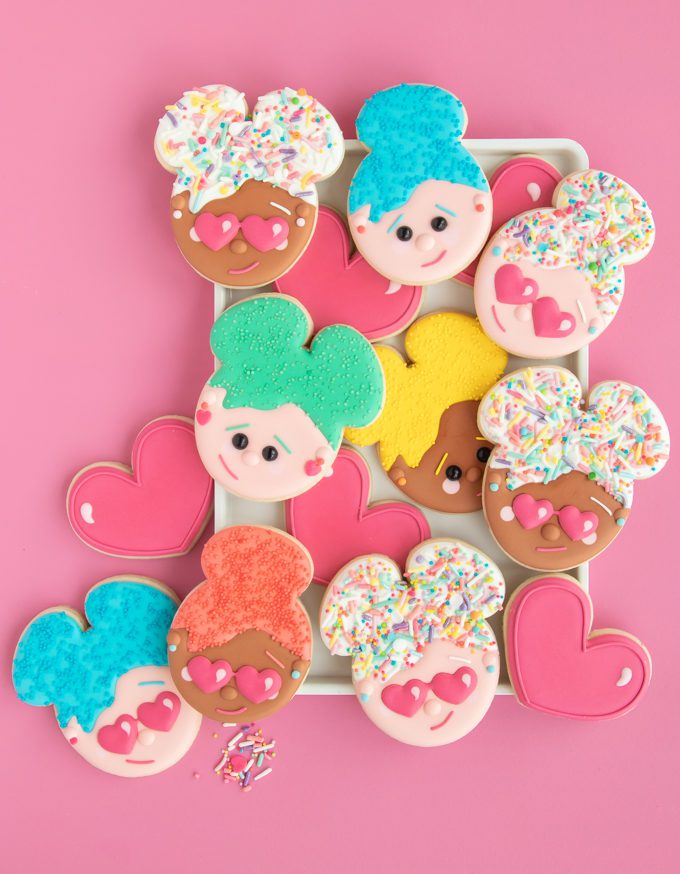
I mean guys, how cute are these little girlies with their sprinkle hair? They were inspired by one of my sweet friends Erin Bakes, who makes adorable cakes. She made some sprinkle hair cakes for Valentine’s Day and I KNEW they needed to be cookified ASAP, sprinkle hair girl cookies needed to be a thing. For the two cookie cutters I designed and printed my own cutters with my Silhouette Alta, (learn more about that here) but there are many cookie cutters out there that you could use to make this design. Think Mickey Mouse, bears, lady bugs and so on. You can even use the FREE projector template below to add details to your sprinkle hair girl cookies with ease.
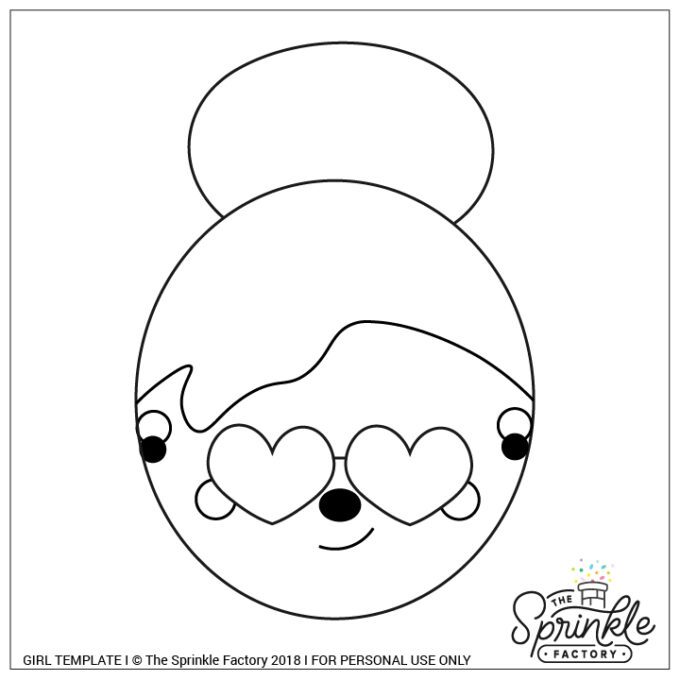
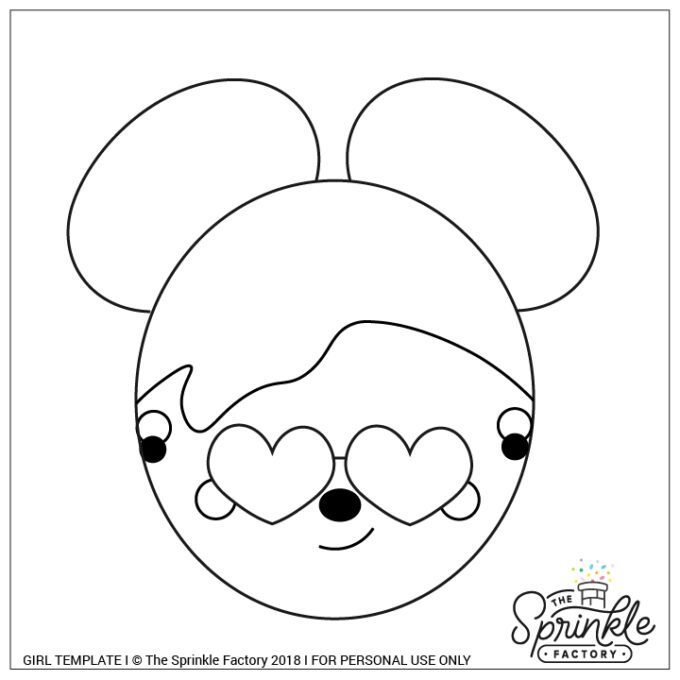
Have a cookie decorating projector? Great news! Here’s a projector template to make these cookies a breeze. Just click, save, project!
HOW TO MAKE SPRINKLE HAIR GIRLCOOKIES
TOOLS
- Similar Shaped Cutters (think Mickey Mouse + lady bug)
- icing bottles/piping bags
- #2 tips
- #1 tip
- icing scribe
- tweezers (if adding pearl eyes)
- fan
- edible marker
SUPPLIES
- Skin tone outline + flood icing
- light pink 20-second icing
- dark pink outline + flood icing
- 20-second icing in whatever shade of hair you would like
- sprinkles
- black sugar pearls
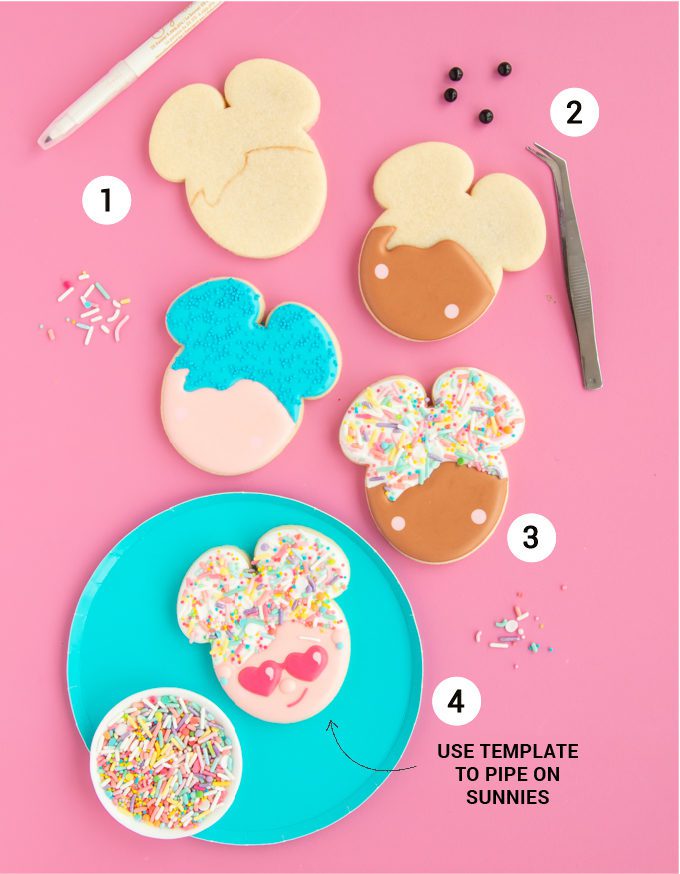
Step 1: First, use the projector template (or print and cut) to trace out the hair lines on the cookie with and edible marker.
Step 2: Using the skin tone icing, outline and flood the face of the sprinkle girls. Drop two dots of light pink for the cheeks and then IF your *not* making heart sunnies drop the sugar pearls in for the eyes. I like to use tweezers to place them quickly. Place the cookies under a fan to crust over and prevent bleeding.
Step 3: Next outline and flood the hair using any color your like. You want to make sure you don’t over flow the hair here and the sprinkles will take up volume. Too much icing + too much sprinkles will cause the icing to flood over the side of the cookie.
Step 4: Once the the hair has crusted over a bit you can move on to all the details. Using the projector templates above really help to make this part smooth, particularly for the heart sunnies. You can either pipe on the sunnies using the projector or trace the shape first with a marker then pipe, however your comfortable. Start with the pink sunnies using dark pink outline (tip PME #1) + flood icing. Drop a little white or light pink into the heart and drag it with your scribe a bit to create a little reflection. Next you can add the nose and ears with your skin tone icing, add sprinkle earrings if you would like! Then finish up with a little mouth + eye browns (tip PME #1 for both).
Now you have your own little sprinkle hair girl cookies, and be part of the cool kids. But be warned, you’re going to want to sprinkle hair EVERYTHING. Don’t say I didn’t warn you…
WANT MORE FUN COOKIE TUTORIALS?
- Instagram Like Bubble Cookies
- Heart Stripes Fondant Cookies
- Pink Buttercream Swirl Cupcakes
- Valentine Chocolate Cherry Amaretto Cupcakes
Heads up! To keep those legal gurus of the world happy, I need to inform you that some of the links in this post are affiliate links. In short – I may earn a small commission from the use of said link with no cost to you. But don’t worry I only link to stuff I use, love, and know you will too!


