

Twas’ the night before Christmas and all through the house, not a creature was stirring not even a Christmas cookie mouse. Except for mom who was obliviously still up doing all – the – things. Although if these cozy little

Why is it everything is so much cuter in cookie form? Those sweet little sprinkly eyes and his floppy little hat…you almost forget he’s made from a candy corn cutter. Did you notice? Today’s snuggly little Christmas mice cookies are my 2nd candy corn Christmas design this year and if I’m being totally honest, my favorite one yet!
The biggest struggle was their little hats. I wanted to make it seem like the tip of the hat was folded down forward. Using a second layer would have worked but it would have segregated the two spaces. Another option would have been simply drawing a line once dried, but drawing on cookies isn’t really my thing. Then it occurred to me…what if I created a taller outline icing line and then very carefully flooded around it. Although I had my doubts it would flood together, it totally worked! The key was using a good puffy 20-second icing. More on that in the steps below! Let’s make Christmas
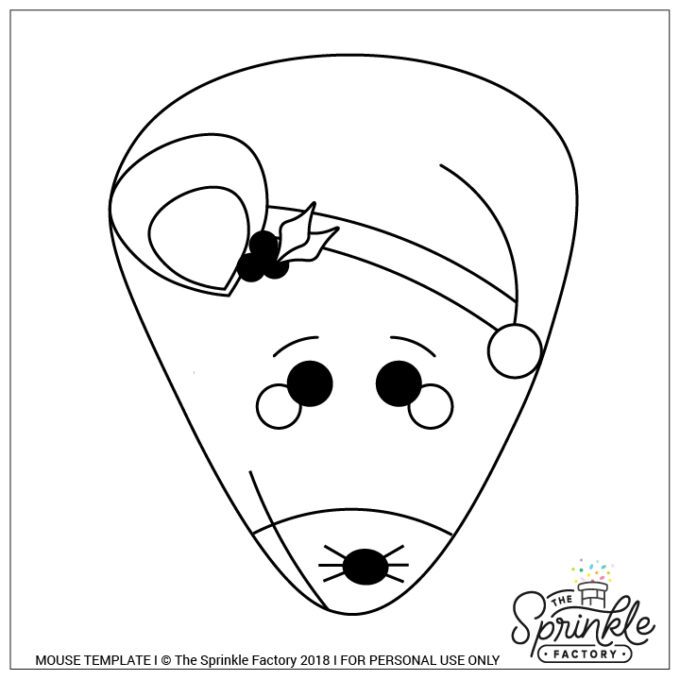
Have a cookie decorating projector? Great news! Here’s a projector template to make these cookies a breeze. Just click, save, project!
HOW TO MAKE CHRISTMAS MICE COOKIES
NEW TO COOKIES? BE SURE TO CHECK OUT THESE POSTS FOR THE BASICS:
ROLLED COOKIES 101+ ROYAL ICING 101+DECORATING COOKIES 101
TOOLS
- candy corn cutter
- edible marker
- piping bags
- couplers
- #1 tips
- #2 tips
- #3 tips
- icing bottles
- icing scribe
- tweezers
- fan
SUPPLIES
- light grey outline icing + light grey flood icing
- light grey outline icing + light grey flood icing
- blush outline icing + blush 20-second icing
- light purple outline icing +light purple 20-second icing
- purple outline icing + purple 20-second icing
- black sugar pearls
- pastel pink sugar pearls
- sprinkles
GEL COLORS USED
- dark grey – Americolor Slate
- light grey – white icing + a touch of dark grey icing
- blush – Americolor Dusty Rose + a touch of dark purple icing
- purple – Americolor Electric pink + Americolor Electric Blue (3/1)
- light purple – dark purple icing + fresh white icing
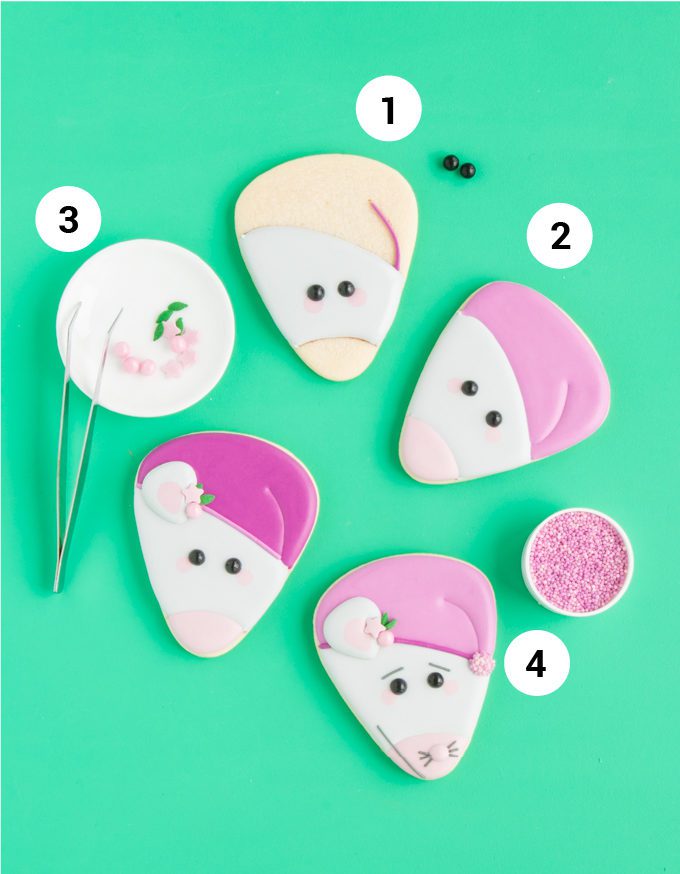
Step 1: Use printable template/projector image to trace the face of the Christmas mice and hat line onto cookies using an edible marker. Outline and flood the face of the mouse with grey outline + flood icing. Immediately after pipe two small pink dots for the cheeks and place two sugar pearls just above. I use my projector to project the face down on to the cookie as I work. It makes consistent placement a breeze! Use purple outline icing + tip #3 to pipe the diving line for the hat. To prevent bleeding, place cookies in front of a fan to dry immediately until the grey has crusted over. Without this step, you may risk the black pearl bleeding into the white.
Step 2: Outline and flood the Christmas mice noses using blush outline + flood icing. Then outline and flood the hats using a purple outline + 20-second icing. (Puffy 20-second icing is key! A thinner flood icing will certainly run together.) This is where you will need to be careful to achieve that awesome hat effect. I recommend starting at the inside of the hat line. Pipe the icing right next to the line so as it settles it lays right on the side of the line and not over. Flood the rest of the hat coming to the tip very last. Use a scribe to push the icing close to the line if need be, but not over! This part may seem a little risky but just take it slow and you’ll be impressed. I didn’t have a single hat run together much to my surprise.
Step 3: Once the icing has crusted over well, or dried completely, it is safe to move on to the next step. Use light grey outline icing + light grey flood icing to pipe on the ear. Add a small drop of blush flood icing to the wet grey for the center of the Christmas mice ears. Use purple outline icing to add a trim to the hat, then use sprinkles to embellish the ears – tweezers are so helpful here. I used pink sugar pearls, pink stars, and the little “leaves” you see are actually green Christmas bulb sprinkles! Let completely crust over before moving on to the next step. I always use a fan in between to speed things up.
Step 4: Time for details! Pipe a little dot of 20-second purple icing for the balls of the hats, add a few sprinkles right away to give it texture. Make sure to do this detail first so you won’t risk getting sprinkles on your final details. Next use dark grey outline icing and a small round tip, I like tip #1, and pipe on eyebrows, mouth line, and whiskers. I’ve found the best way to pipe whiskers is to
I hope you guys try out these little Christmas mice, especially the hat trick. If you make a sweet creation inspired by these I want to see! Be sure to tag me @thesprinklefactory and use #teamsprinkle.
WANT MORE FUN CHRISTMAS COOKIE TUTORIALS?
Heads up! To keep those legal gurus of the world happy, I need to inform you that some of the links in this post are affiliate links. In short – I may earn a small commission from the use of said link with no cost to you. But don’t worry I only link to stuff I use, love, and know you will too!


