

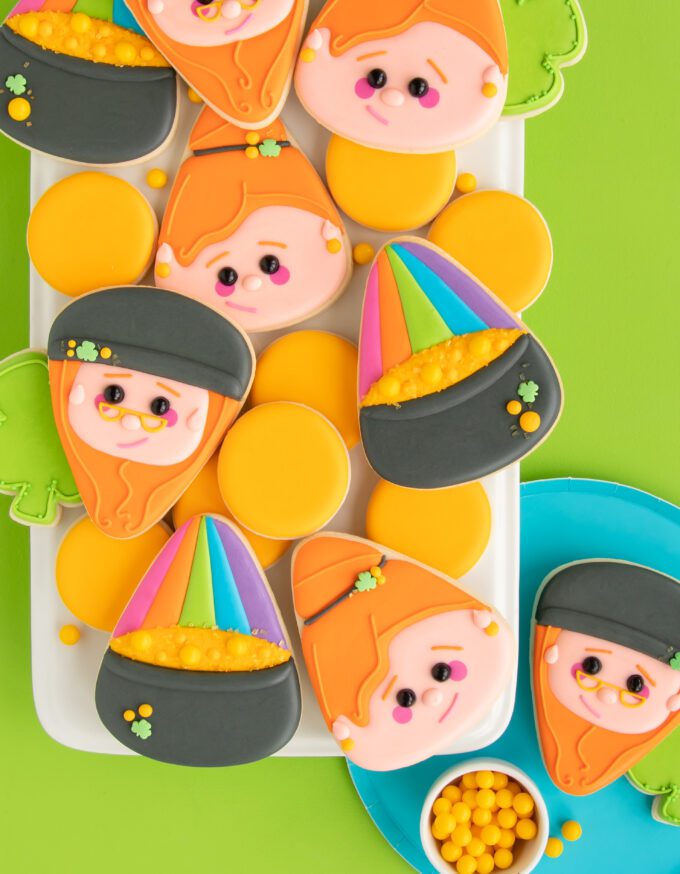
Guys it’s a new month and you know what that means! A new holiday for creatives to obsess over. Am I the only one that feels like we just go from one holiday to another? I’ll admit I have a little holiday overwhelmed right now, I’ve even seen some cookies posting Mother’s Day, already! I’m not even done creating little green gold stealing men for this holiday! Speaking of, that’s exactly what’s in todays post Leprechaun cookies made from a candy corn cutter, though you probably already knew that from the title didn’t you.
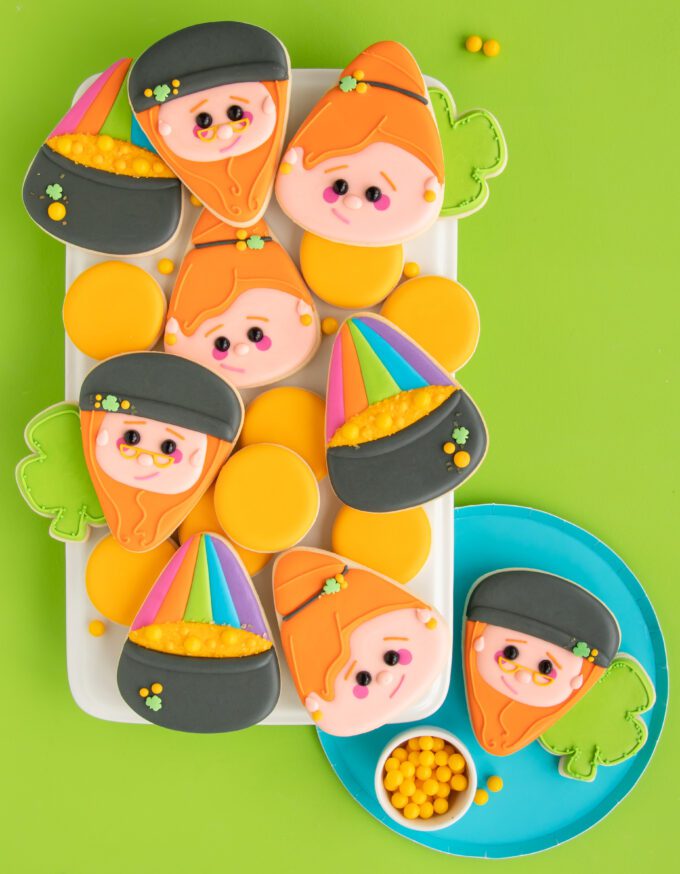
I’m actually getting a little nervous maybe you guys are getting sick of my candy corn cutter designs! It has become a bit of a craze for me, but a year ago I promised to create an entire year of candy corn cutter designs…and that’s what I’m going to do. So let’s take a look at how to make leprechaun cookies from a candy corn cutter, but wait we’re not just covering the little gold snatching men we’re making cute little girly leprechaun cookies because why should the guys have all the fun?
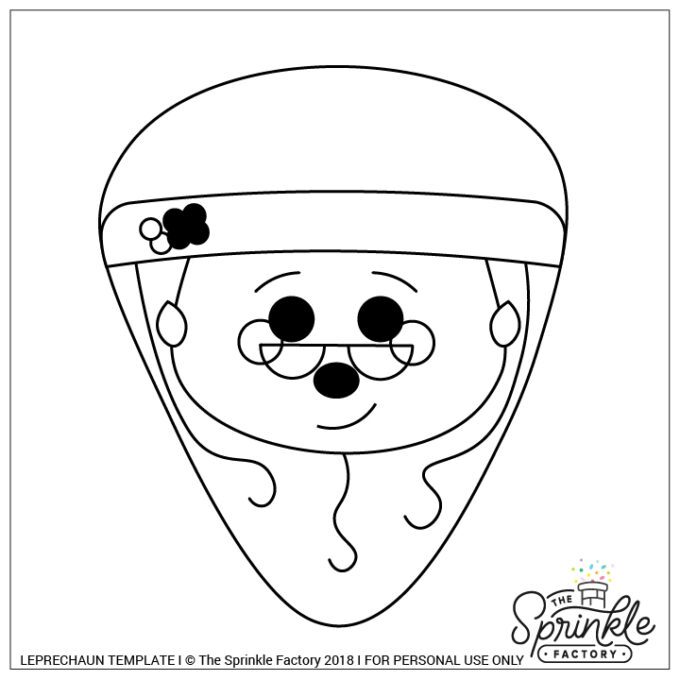
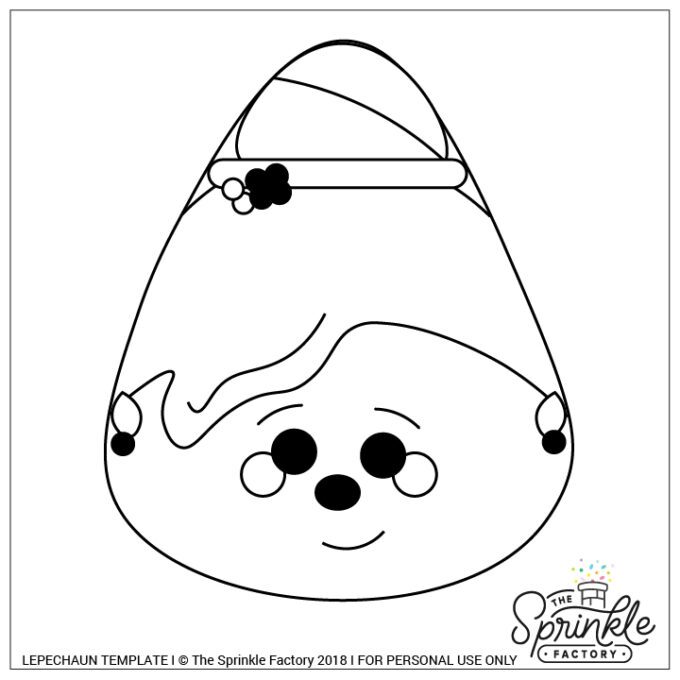
Have a cookie decorating projector? Great news! Here’s a projector template to make these paint palette cookies a breeze. Just click, save, project!
HOW TO MAKE LEPRECHAUN COOKIES
TOOLS
- Candy corn cutter
- icing bottles/piping bags
- #2 tips
- #1.5 tips
- icing scribe
- tweezer
- fan
SUPPLIES
- orange outline + flood icing
- any skin tone outline + flood icing
- dark grey/black outline + flood icing
- yellow/gold 20-second icing
- pink 20-second icing
- shamrock sprinkles
- gold sugar pearls
HOW TO MAKE GIRL LEPRECHAUN COOKIES
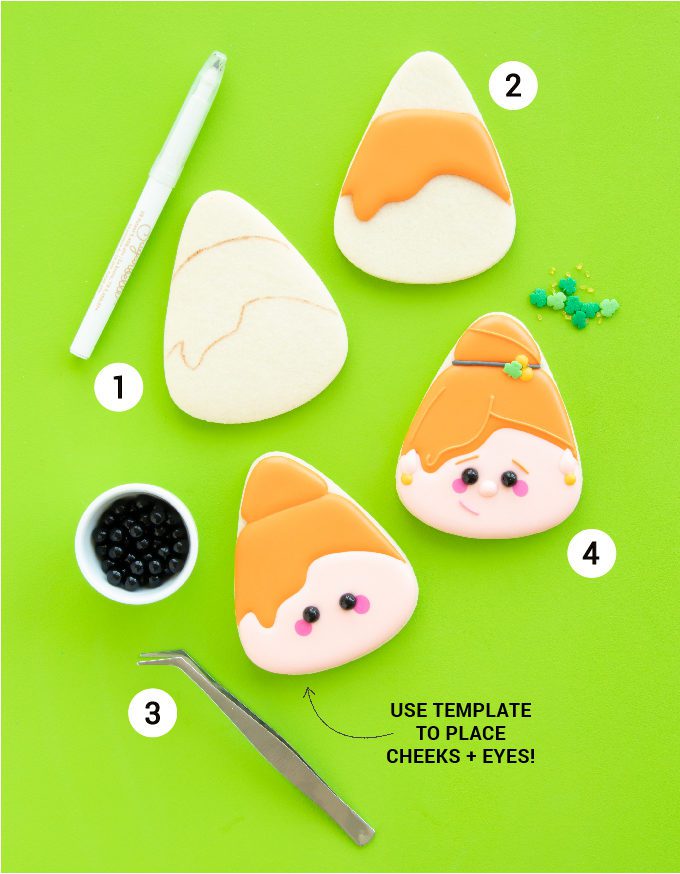
Let’s start with the little girl leprechaun cookies!
Step 1: Start by tracing the face + hairlines onto cookies using an edible marker. You can use the projector templates to make this super simple + consistent. (If you don’t have a project you can also print and cut!)
Step 2: Using orange flood + outline icing, outline and flood the main section of the leprechaun cookie’s hair. Let this portion curst over.
Step 3: Outline and flood the face using skin tone outline + flood icing. Immediately place two small dots of pink flood icing for cheeks. (I love to use my projector to project the template image right onto the icing, this keeps everything consistent) Use the tweezers to place a black sugar pearl for the eyes. Then outline plus flood the bun portion of her hair. To prevent bleeding, place cookies in front of a fan to dry immediately until the icing has crusted over. Without this step, you may risk the black pearl bleeding.
Step 4: Once all previous steps have crusted over it’s time for final details! Add ears and nose (skin tone outline icing), hair details (orange outline + tip #1.5, mouths (pink outline + tip #1.5), black hair tie (black outline icing), plus shamrock sprinkles to the hair tie, and drops of yellow 20-second icing around the hair tie and as earings.
HOW TO MAKE BOY LEPRECHAUN COOKIES
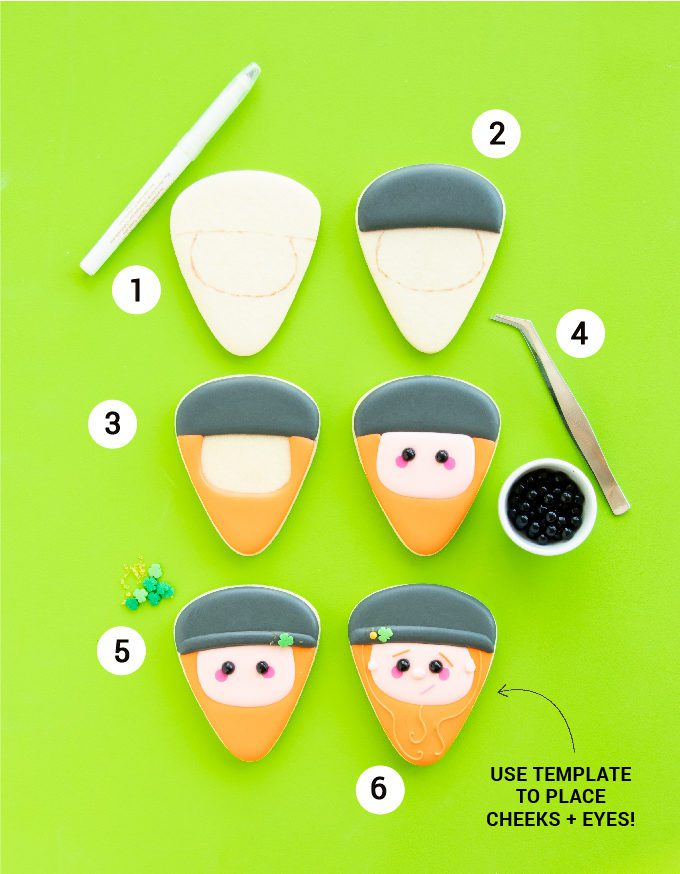
Step 1: For Mr. Leprechaun cookie, first use an edible marker + projector template to trace his face and hat lines. (If you don’t have a project you can also print and cut!)
Step 2: Using the black outline + piping icing outline and flood the boy leprechaun cookie’s hat. Let this crust over a little bit before moving on, black color tends to bleed onto lighter colors.
Step 3: Next using orange outline + flood icing pipe on his beard.
Step 4: Flood the face using skin tone outline + flood icing. Immediately place two small dots of pink flood icing for cheeks. (I love to use my projector to project the template image right onto the icing, this keeps everything consistent) Use the tweezers to place a black sugar pearl for the eyes. Then outline plus flood the bun portion of her hair. To prevent bleeding, place cookies in front of a fan to dry immediately until the icing has crusted over. Without this step, you may risk the black pearl bleeding.
Step 5: Using black outline + flood icing add the little brim of his hat + sprinkles to decorate.
Step 6: Once all previous steps have crusted over it’s time for final details! Add ears and nose (skin tone outline icing), hair and beard details (orange outline + tip #1.5, and mouth (pink outline + tip #1.5). I sadly forgot to add little yellow/gold glasses in the step by step shot, but they add the cutest final touch. I did so with a tip #1.5 and the projector template, you can see the glasses in the main shots above.
Did you love these leprechaun cookies? Making some of your own? Don’t forget to tag me on your social media posts so I can enjoy + share your cookies too!
WANT MORE FUN ST. PATRICK’S COOKIE TUTORIALS?
- Lucky Charms Cereal + Marshmallow Cookies
- Pot Of Gold + Rainbow Cookies From A Candy Corn Cutter
Heads up! To keep those legal gurus of the world happy, I need to inform you that some of the links in this post are affiliate links. In short – I may earn a small commission from the use of said link with no cost to you. But don’t worry I only link to stuff I use, love, and know you will too!


