

Guys guys guys! Let’s get real here. I have been teasing you with my Silhouette Alta 3D printer for entirely too long. The past few months I have been learning how to use my new machine, (thanks Silhouette!) and beyond that learning how to make my own custom cookie cutters. Although I still have tons to learn, I’m ready to share how I make custom cookie cutters with you. I will be back with a full 101 post and lots of cutter designs, but today I’m kicking off my 3D printer blogging journey with a partner post from my friends over at Silhouette to show you how to 3D print your own shamrock glasses cookie cutter! Because this KISS ME I’M STYLISH set needed just that!
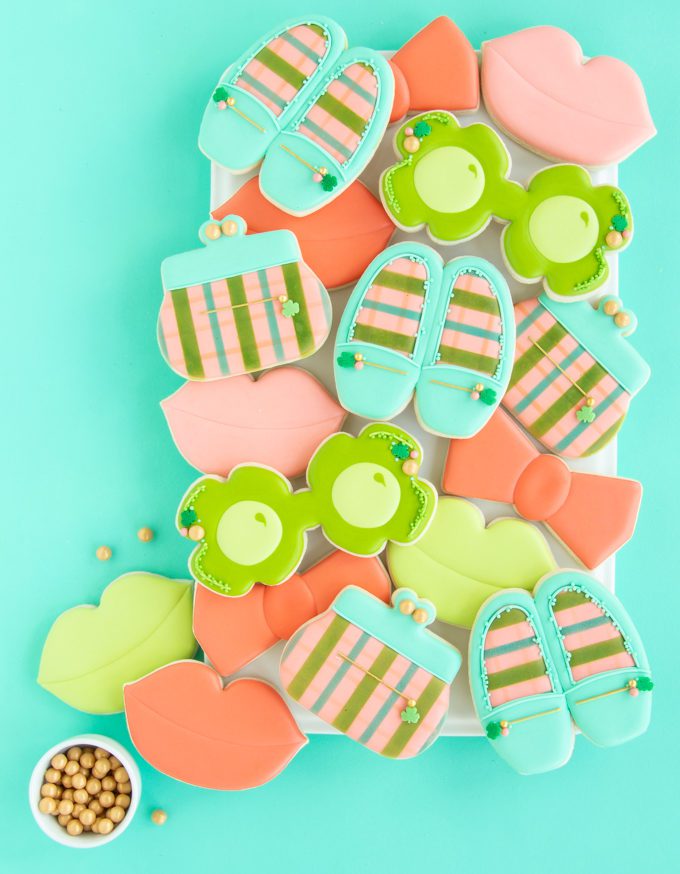
We’re going to take a close look at how to make the shamrock glasses cookie cutter because it takes just a little bit of tweaking to design. However, can you believe I made ALL of these cutters with my Silhouette Alta? The same process can be used with any cutter shape you chose! The amazing thing about the Alta is how it pairs with the Silhouette Design studio. I can design and print out any cookie cutter my crazy sprinkle brain can dream up OR I can purchase their cut files, which I use with my Silhouette Cameo cutting machine, and use those same files to make cookie cutters! If you’re not familiar

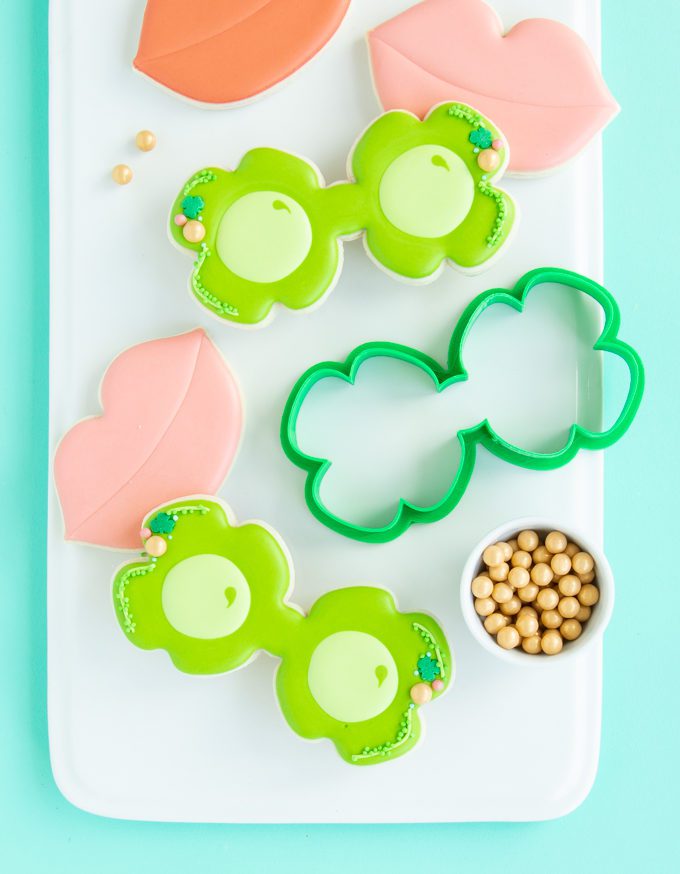
SUPPLIES
- Silhouette Alta®
- Green Silhouette® Filament
- Design ID: Clover 64665
- Alta Platform Tape
How To Design 3D Printed Shamrock Glasses Cookie Cutter
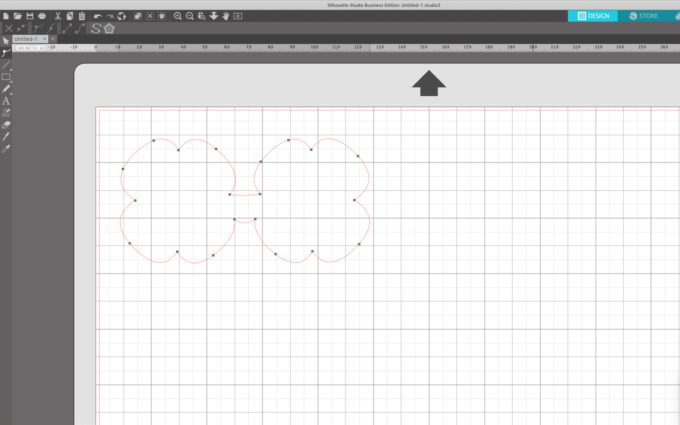
Step 1: Open clover design into Silhouette Studio®.

Step 2: Duplicate the clover, and mirror the second clover. Bring the two clovers together just until their stems overlap a bit. With both clovers selected group the two shapes.

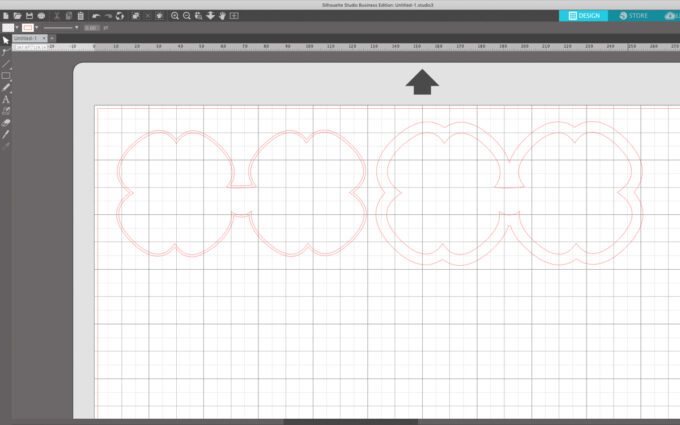
Step 3: Create an offset of the two clovers, using an offset distance of two. Now delete your two original clovers and you have a pair of clover glasses! If you would like to adjust the shape of the bridge to make it more smooth, simple click the point tool and delete the middle point. It will now be nice and smooth.
Note: The Silhouette Alta 3D design software has an automatic cookie cutter import setting! If you would like to go that route you can now save your file and open it up in the 3D software selecting “cookie cutter” upon importing. However, below I’ll show you how to customize your cutters so you can make any adjustments you like!
Step 3: Duplicate your clover glasses and create an offset on each. One will be the handle of the cookie cutter and one will be the cutter edge of your cookie cutter. You can customize the offset to be any size you would like! I suggest starting at 1MM for the cutter edge and 5MM for the handle. Highlight both sets of glasses and make each a compound path. Select the thinner cookie cutter edge and “bring to front.

Step 4: Highlight both clover glasses and click center. Now save your file to your computer (not library), and open in Silhouette Alta 3D Software. When opening select “Exstrusion”
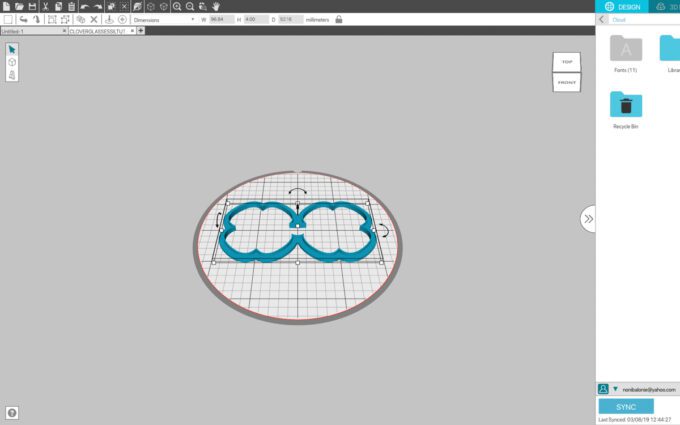
Step 6: Ungroup the clover glasses. You will need to adjust the height for each piece. I recommend 18MM for the cookie cutter edge and 3.5MM for the handle. Double check each item is on the platform by clicking on each piece and then “level to bed”. Regroup the two pieces and you’re ready to print!

Step 7: Click the “3D PRINT” tab and load your machine with the filament, select the print settings you would like, and print!

I really hope you guys are as interested in 3D printing your own cookie cutters, as I am. I love that I can whip of crazy designs like this shamrock sunglass cookie cutter anytime I want! I can’t wait to share more,
Heads up! To keep those legal gurus of the world happy, I need to inform you that some of the links in this post are affiliate links. In short – I may earn a small commission from the use of said link with no cost to you. But don’t worry I only link to stuff I use, love, and know you will too!


